


Screenshots: Creating vSphere 5 ESXi embedded USB Stick with MBR partition table
Posted by jpluimers on 2013/05/03
A long time ago, I promised steps how to install VMware 5 ESXi using the MBR boot format.
The steps with screenshots are below, but first some background information.
As of VMware ESXi 5, GPT (short for GUID partition table) is the default partition table used by VMware ESXi.
Disks smaller than 2 TB can boot with MBR, but GPT It is a requirement for disks bigger than 2 TB. GPT also needs a UEFI compatible BIOS.
Some older BIOSes (like those of my HP XW6600 machines: still running strong after many years of fine service) do not support GPT.
Luckily, weasel (the open source Operating System Installer that VMware ESXi uses) can be forced to use MBR using runweasel formatwithmbr.
Forcing MBR is a 2-step process.
- Get to the boot prompt: press Shift+O when the progress bar appears
- Running weasel with the MBR option: after the “runweasel”, type a space, then formatwithmbr
Below are the screenshots of a VMware ESXi 5.0.0 installation I did this way.
But it works equally well in ESXi 5.1.x
After writing this post, I found out about ESXi 5 Won’t Boot From USB which solves this exact problem for an HP XW8600 configuration (those are slightly larger machines than the XW6600 I have, but the architecture is the same).
Screenshots
Click on the image or link for larger screenshots, or view the series here at Flickr.
- After configuring VMware Workstation VM with a bit of memory (I usually take 2GB ram, 2 processor, and CD/DVD support), and the CD-ROM drive mounted to the ISO image, boot it.

- Choose to boot from the CD image.

- Press “Shift-O” before the time out.

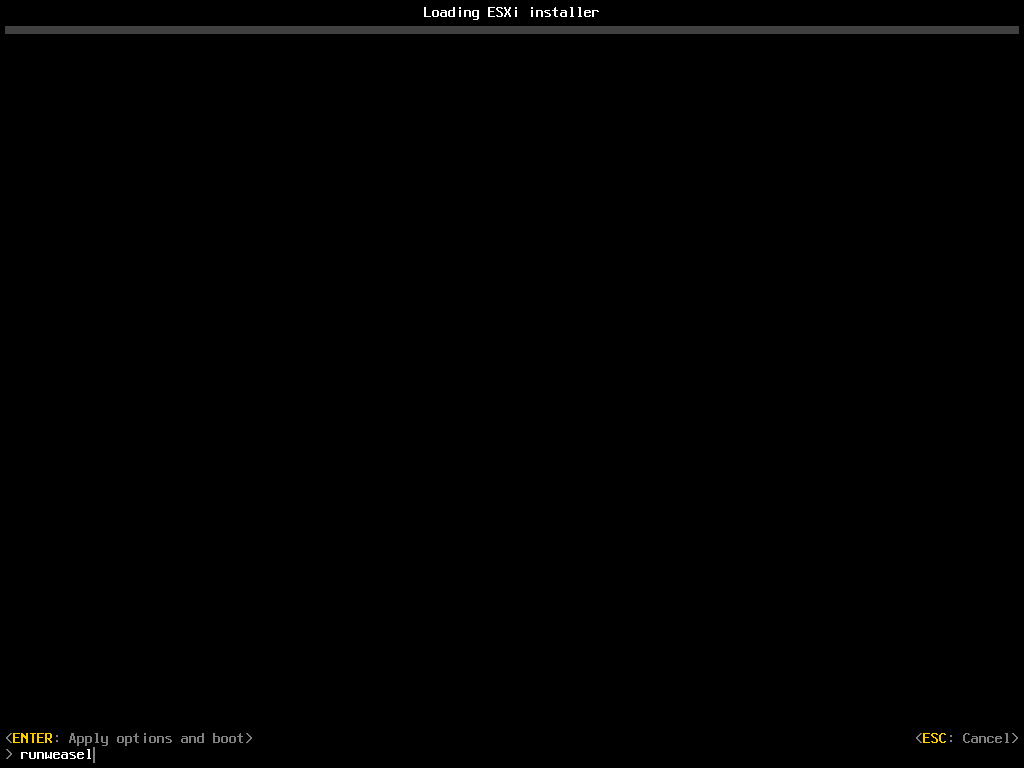
- A prompt appears with “runweasel”.

- Enter “runweasel formatwithmbr” (don’t forget the space) and press Enter.

- Wait while the VMware installer loads all needed files.

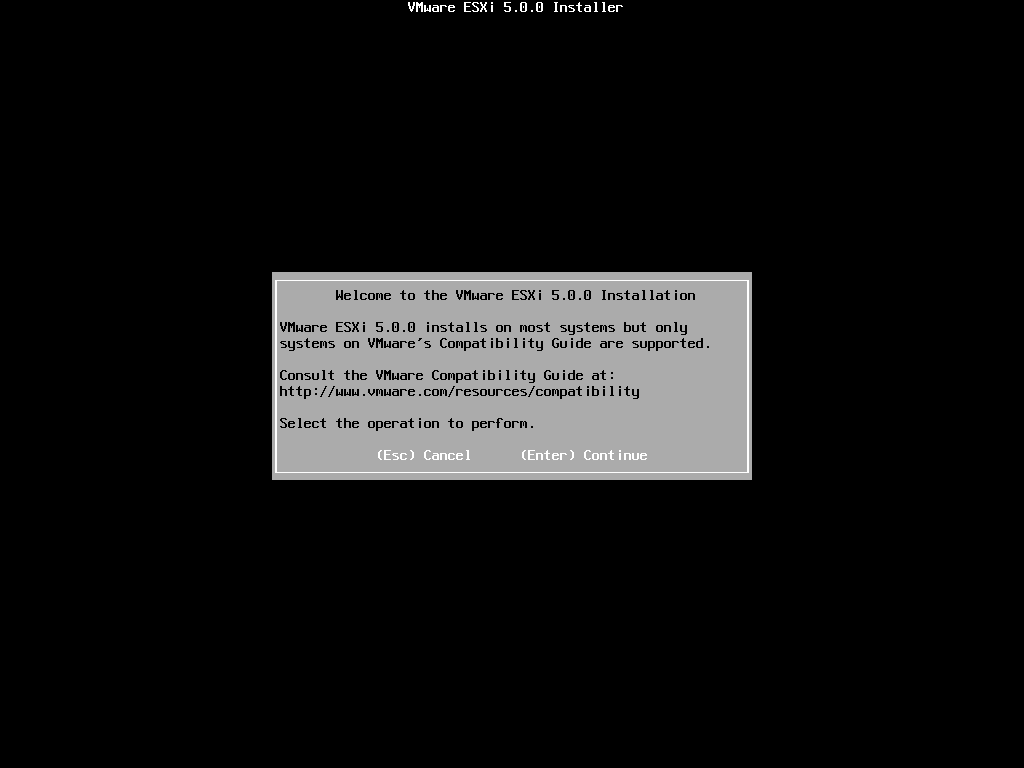
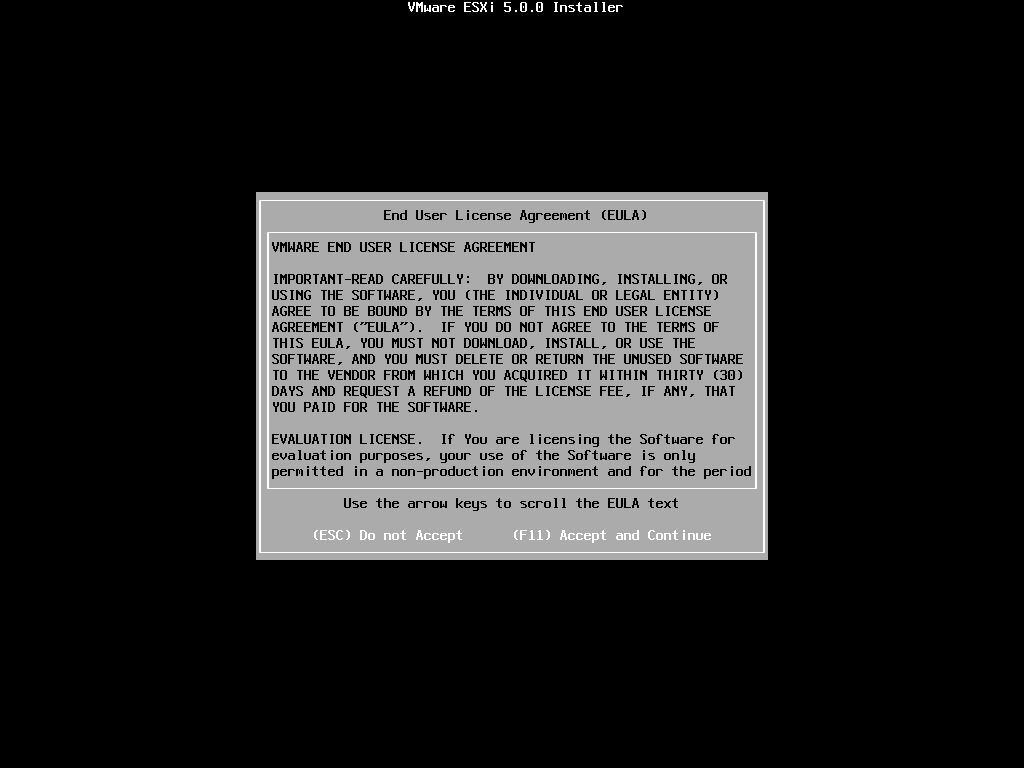
- Check the version on the Welcome screen, then press Enter to go to the EULA screen.

- Press F11 to accept the EULA and start the installation process.

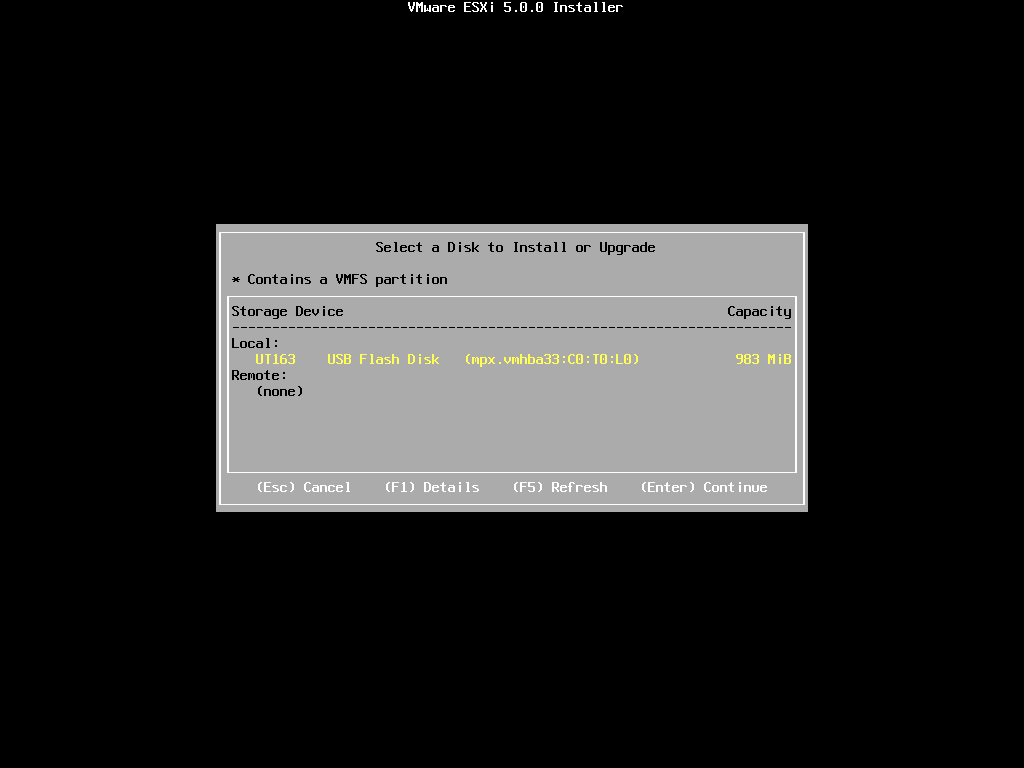
- Wait vor the installer to scan the hardware for installation targets. If your WMware Workstation does not recognize USB devices, then check this link: windows 7 – VMware Workstation 8 does not recognize USB devices any more: where to start? – Super User.

- Select the device you want to install VMware ESXi on, then press Enter.

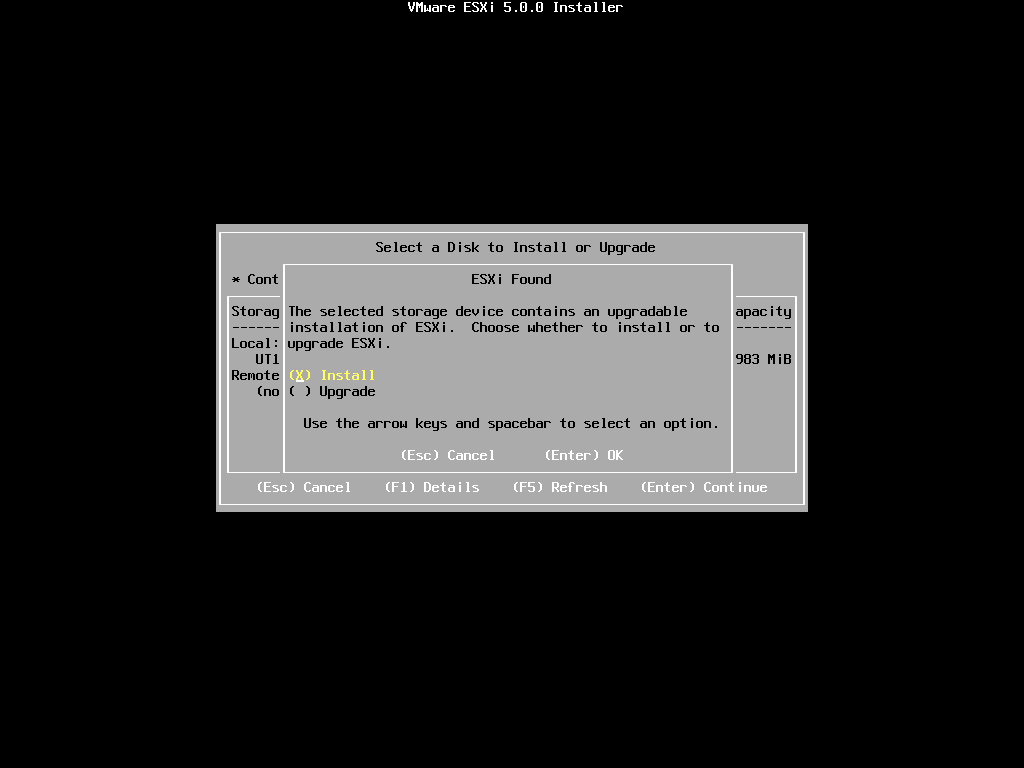
- Wait for VMware to gather some more information about the device.

- If the device already contains an ESXi installation, choose Install or Upgrade (depending on what you want; I usually want an Install).
If the installer does not find an existing installation, this screen is skipped.

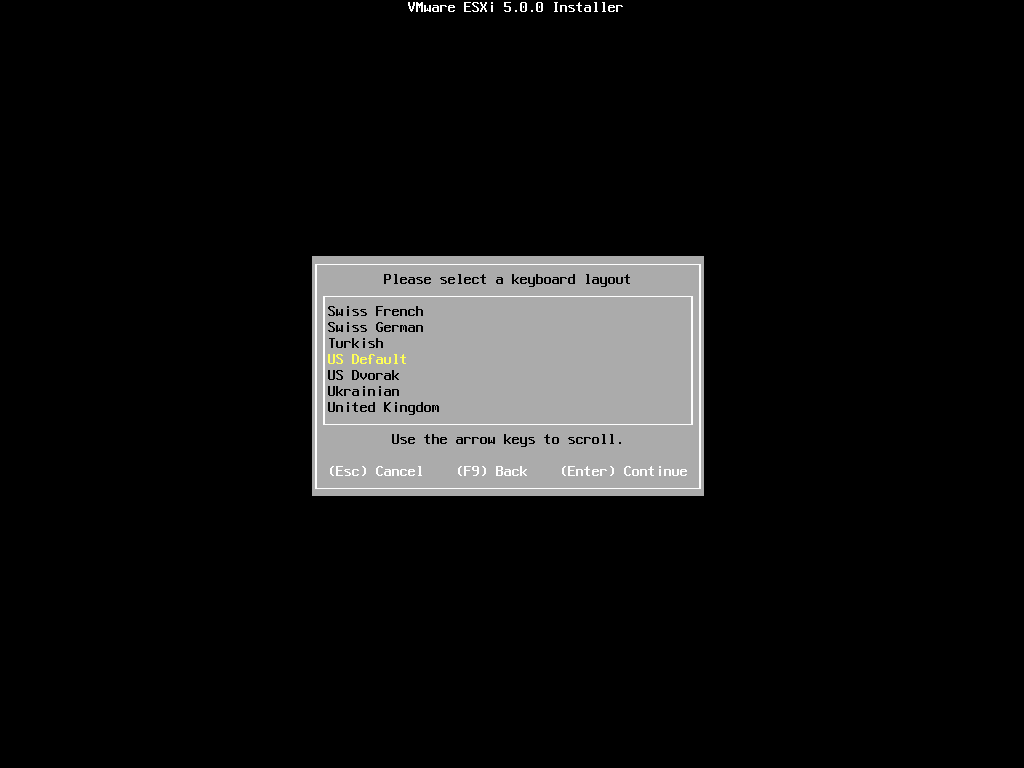
- Choose the Keyboard Layout (if it differs from your current computer: the one that you will use on your server)., then press Enter to continue.

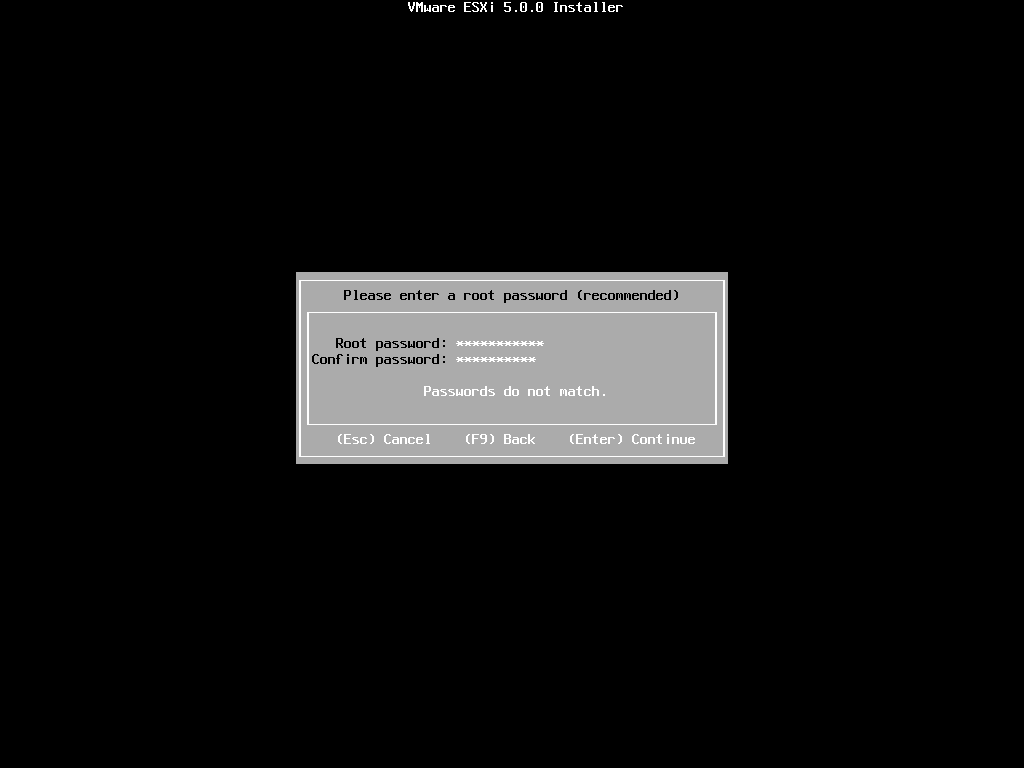
- Type the administrator password twice so the installer can verify…

- … that both passwords match, then press Enter.

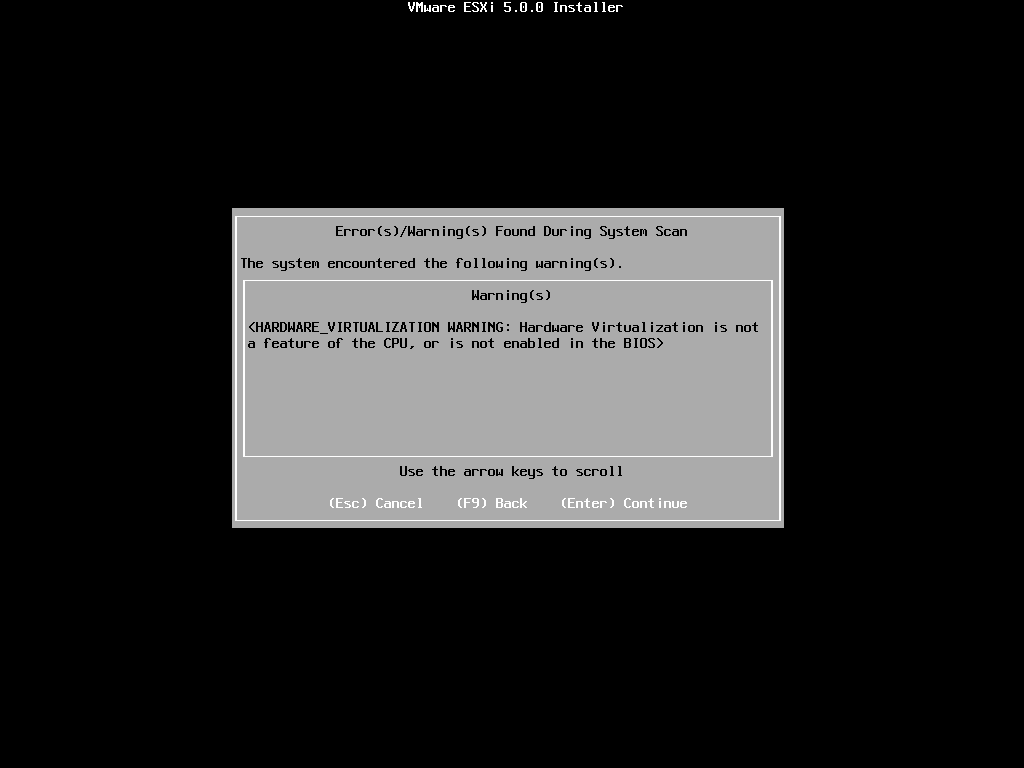
- Wait until the installer does yet another scan.

- If your final system has the right requirements, but your current system does not: ignore any warnings and press Enter.

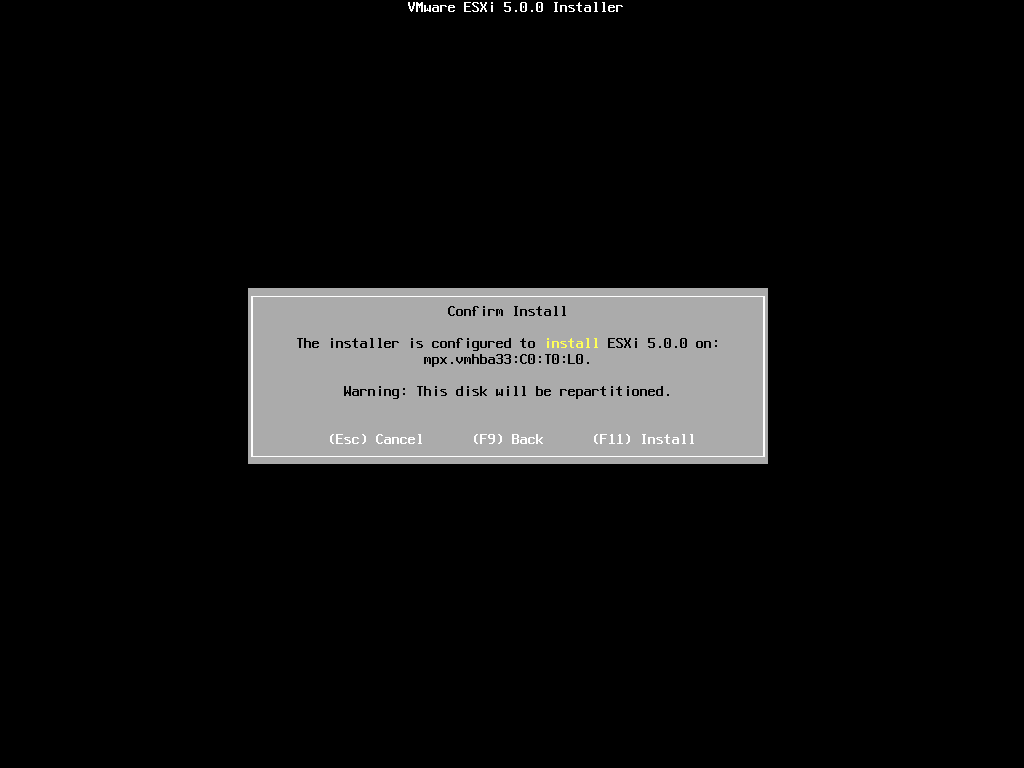
- Press F11 to confirm the install.

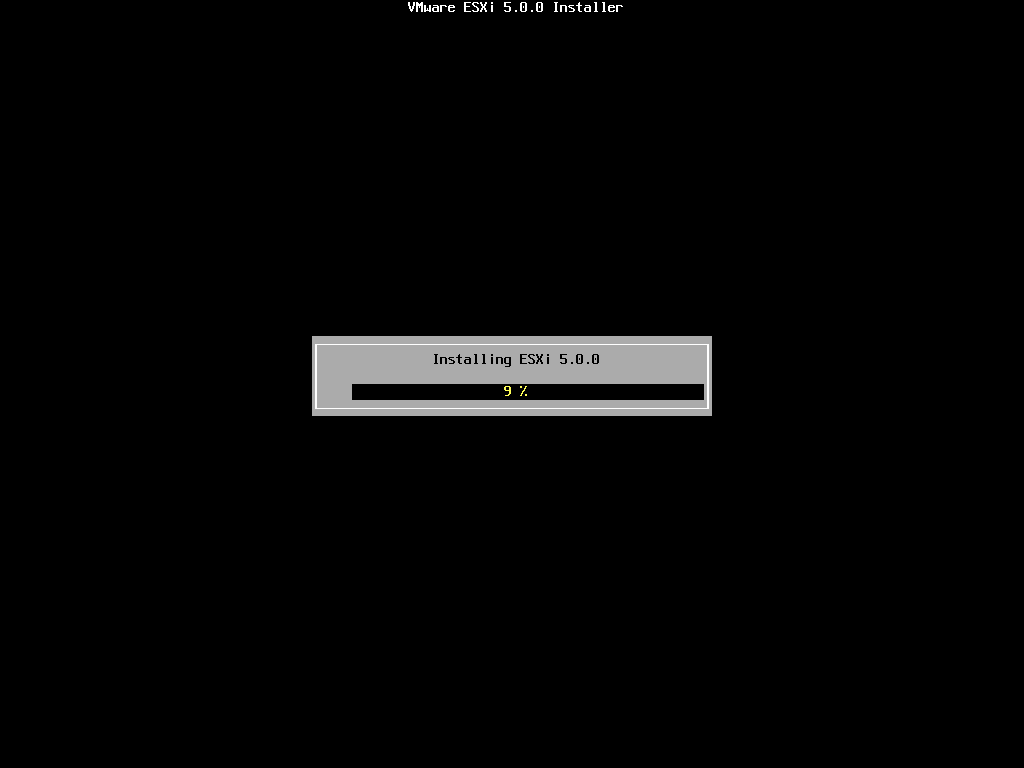
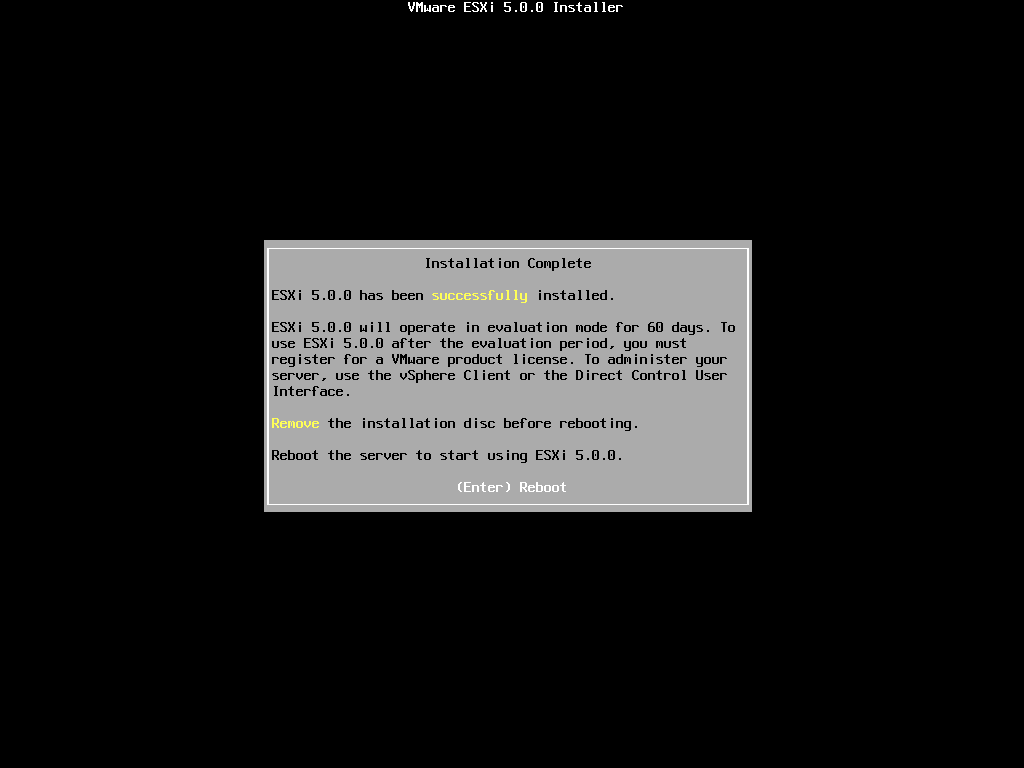
- Wait until the install completes …

- … the wait can take more than a couple of minutes on slow USB sticks.

- When the install completes DO NOT REBOOT, just turn off the VM, then put the USB stick in the final machine and complete the installation process there.

- The final configuration process is like any standard ESXi installation; I won’t detail that here.


–jeroen


More ESXi5 installation steps « The Wiert Corner – irregular stream of stuff said
[…] Screenshots: Creating vSphere 5 ESXi embedded USB Stick with MBR partition table […]