


Since none of the pictures returned for searching 46W6740 is correct, here is one that is. – Jeroen Wiert Pluimers – Google+
46W6740 Ultranav keyboard (not full size, no trackpad, only trackpoint, no Windows keys). Click to get a larger picture.
Posted by jpluimers on 2015/10/16
Since none of the pictures returned for searching 46W6740 is correct, here is one that is. – Jeroen Wiert Pluimers – Google+
46W6740 Ultranav keyboard (not full size, no trackpad, only trackpoint, no Windows keys). Click to get a larger picture.

Posted in Keyboards and Keyboard Shortcuts, Power User, ThinkPad, UltraNav keyboards | Leave a Comment »
Posted by jpluimers on 2015/10/05
I’ve two fiber connections, one cable connection and one ADSL connection at home.
This is a traceroute from one fiber connection to the other over the outside network:
traceroute to snip.xs4all.nl (80.100.143.119), 64 hops max, 52 byte packets
 1  tomatortn66u (172.23.71.1)  0.951 ms  0.708 ms  0.638 ms
 2  fiber24315337241.heldenvannu.net (37.153.243.241)  1.135 ms  0.988 ms  0.974 ms
 3  rt121bb121-212-183.routit.net (212.121.121.183)  1.973 ms  1.976 ms  1.919 ms
 4  0-7-0-4-core2-a-tc1.routit.net (84.246.25.133)  2.711 ms  2.498 ms  2.517 ms
 5  0-7-0-4-core2-a-tc1.routit.net (84.246.25.133)  2.725 ms  2.674 ms  2.535 ms
 6  0-7-0-7-core4-a-tc2.routit.net (37.0.80.7)  3.048 ms  2.883 ms  2.712 ms
 7  1-2-inet1-tc2.routit.net (84.246.25.46)  2.767 ms  2.633 ms  2.514 ms
 8  ams-ix.tc2.xs4all.net (80.249.208.166)  2.676 ms  4.177 ms  2.775 ms
 9  0.ae5.xr3.3d12.xs4all.net (194.109.5.13)  2.987 ms  3.114 ms  11.387 ms
10  xe-8-1-0.dr11.xs4all.net (194.109.7.14)  6.188 ms
    xe-7-0-1.dr11.d12.xs4all.net (194.109.7.58)  3.320 ms
    xe-8-0-1.dr11.d12.xs4all.net (194.109.7.38)  3.206 ms
11  snip.xs4all.nl (80.100.143.119)  4.079 ms !X  3.960 ms !X  3.946 ms !X
This is the same but from my third connection (that will go away sooner than later): Cable.
traceroute to snip.xs4all.nl (80.100.143.119), 64 hops max, 52 byte packets
 1  www.asusnetwork.net (192.168.171.1)  1.016 ms  0.983 ms  0.938 ms
 2  * * *
 3  212.142.62.69 (212.142.62.69)  11.427 ms  8.361 ms  8.459 ms
 4  84.116.244.97 (84.116.244.97)  8.080 ms  10.405 ms  7.340 ms
 5  nl-ams09b-ri1-xe-10-2-0.aorta.net (84.116.130.22)  7.625 ms
    nl-ams09b-ri1-xe-8-0-0.aorta.net (84.116.130.2)  10.392 ms
    84.116.136.81 (84.116.136.81)  9.534 ms
 6  0.xe-1-2-0.xr1.tc2.xs4all.net (194.109.7.209)  8.315 ms  9.505 ms  9.684 ms
 7  0.ae5.xr3.3d12.xs4all.net (194.109.5.13)  9.508 ms
    0.ae4.xr4.1d12.xs4all.net (194.109.5.9)  9.565 ms
    0.ae5.xr3.3d12.xs4all.net (194.109.5.13)  9.459 ms
 8  xe-7-0-1.dr11.d12.xs4all.net (194.109.7.58)  8.547 ms  13.159 ms  9.893 ms
 9  snip.xs4all.nl (80.100.143.119)  9.710 ms !X  10.079 ms !X  8.121 ms !X
Finally there is ADSL (which will go even sooner):
snap:~ # traceroute snip.xs4all.nl
traceroute to snip.xs4all.nl (80.100.143.119), 30 hops max, 40 byte packets using UDP
 1  192.168.71.1 (192.168.71.1)  1.052 ms   0.554 ms   0.520 ms
 2  lo0.dr13.d12.xs4all.net (194.109.5.212)  17.767 ms   17.368 ms   17.123 ms
 3  1423.ae3.xr4.1d12.xs4all.net (194.109.7.137)  16.901 ms 1418.ae3.xr4.1d12.xs4all.net (194.109.7.17)  16.628 ms 1323.ae3.xr3.3d12.xs4all.net (194.109.7.141)  16.354 ms
 4  xe-8-1-0.dr11.xs4all.net (194.109.7.14)  15.961 ms xe7-0-0.dr11.d12.xs4all.net (194.109.7.170)  15.762 ms xe-8-1-0.dr11.xs4all.net (194.109.7.14)  15.283 ms
 5  snip.xs4all.nl (80.100.143.119)(N!)  15.914 ms (N!)  16.171 ms (N!)  15.710 ms
Cable is about twice as slow than Fiber.
ADSL is about three times as slow than Fiber.
–jeroen

Posted in fiber, Fritz!, Fritz!Box, Internet, Power User, routers, TomatoUSB | Leave a Comment »
Posted by jpluimers on 2015/09/07
Too bad the Citrix Receiver remaps the keyboard shortcuts in a way that keyboards without a numeric keypad is a pain.
First of all, it was a bit tough to find the shortcuts, and I have not found a way to modify them.
Here is what I did find:
Posted in Keyboards and Keyboard Shortcuts, Power User, Remote Desktop Protocol/MSTSC/Terminal Services, Windows | Leave a Comment »
Posted by jpluimers on 2015/08/24
Because http://fritz.box points to my Fritz!BOX router, it cannot be used to get to my Fritz!WLAN Repeater. I just learned about the http://169.254.1.1 trick does.
Which saves me from remembering the repeater IP-address or name.
–jeroen
via: Opening the FRITZ!Box user interface | FRITZ!WLAN Repeater 1750E | AVM International.
Posted in Fritz!, Fritz!Box, Fritz!WLAN, Internet, Power User, routers | Leave a Comment »
Posted by jpluimers on 2015/08/21
Interesting Dutch thread about a major ISP having DNS issues because of DDos attacks. Many messages to set your DNS servers manually on various operating systems, and a list of good DNS server alternatives. Recommended reading:
Ziggo kampt weer met storing – update – IT Pro – Nieuws – Tweakers.
–jeroen
Posted in Internet, Power User, routers | Leave a Comment »
Posted by jpluimers on 2015/06/29
I wrote quite a few entries about Keyboards and Keyboard Shortcuts.
But Alister Christie did something much better: he published a great video on YouTube: Some windows shortcut key hints.
Most of the examples he shows work in Windows 7 and up.
–jeroen
Posted in Keyboards and Keyboard Shortcuts, Power User, Windows, Windows 7, Windows 8, Windows 8.1, Windows 9 | Leave a Comment »
Posted by jpluimers on 2015/06/26
Interesting machine: TinkerTry’s Xeon D-1540 fueled ESXi 6.0 home lab build begins LIVE! | TinkerTry IT @ Home.
It does ECC and IPMI, fits mSATA, 2.5 drives, and 3.5 hot-swap bays. For more specs see Supermicro SuperServer mini-tower ordered with 64GB of memory for $1900 starts the ultimate 24×7 home virtualization lab | TinkerTry IT @ Home.
The drive trays used are these:
Besides the official ways of converting the 3.5″ tray for 2.5″ drives that only allows for 4 drives to be converted, I think there is an unofficial way that allows for more hot-swappable 2.5″ drives.
The case is an CSE-721TQ-250B. Looking at a picture of the dimensions of the space where the drive trays fit in (thanks Anandtech), removing the CSE-SAS-733TQ backplane and fitting these into the MCP-220-00075-0B should allow for 8 2.5″ drives to be connected:
(all found via Sata Rack Enclosure – on Aliexpress.com)
Modify an existing 3.5″ tray to fit a 2.5″ drive: please note the drive is mounted up side down!
Note there is another (dual!) 2.5″ tray for a different kind servers: many 2U and some 4U rack mounted SuperMicro servers and chassises optionally have this in the back for boot drives:
These are for instance used in the below chassises and SAS extenders based on them (the extenders all use SFF-8644 HD mini-SAS3 cable connectors):
Note to self: if ever getting these, ensure to get them with PWS-920P-SQ or better power supplies as these are super quiet although the chassis fans can be loud which can be resolved with a PWM controller or carefully selecting the SuperMicro parts from Supermicro | Support | System Fan Matrix as described in Supermicro noise levels | ServeTheHome and ServeThe.Biz Forums.
–jeroen
Posted in ECC memory, Hardware, Memory, Power User, RAID, SSD | 1 Comment »
Posted by jpluimers on 2015/05/04
I wonder if Toshiba’s MQ03ABB300 really can be ordered in May:
–jeroen
via:
Posted in Hardware, Power User | 1 Comment »
Posted by jpluimers on 2015/04/20
Which external 2.5 inch usb drives contain actual SATA drives? – Super User.
Opening the M9T in USB enclosure and getting the ST2000LM003 out of it:
The same holds for opening the STDR2000100 and STEA2000400:
Opening the 15mm? high 4TB drive enclosure:
The drive is a STDA4000100
Before this gets It got deleted:
|
0 |
I know many of the modern external USB 2.5 inch drives do not contain a SATA drive inside, for instance see this YouTube video about disassembling a 2TB Western Digital My Passport drive. However some drives still contain SATA drives, for instance this YouTube disassembly video of the 1.5TB SeaGate GoFlex drive which contains a 1.5TB SeaGate FreePlay drive that took very long to become available as SATA model. So: which other (preferably as big as possible, and 12.5mm or less high) SATA drives can be disassembled from retail USB drives? Edit The background of my question is that often the official specs will not tell what kind of connector the drive inside the casing it has. For example some specs for some 1.5TB and 2TB external 2.5inch USB drives in my answer below. I have two reasons I want to know: often the internal drives are not sold separately at at first and when they are, they are still a lot cheaper. The first reason is most important to me: I run several dual- and triple-drive machines of which the biggest one is the backup drive that I want to be as big as possible (especially since you now have 1TB SSDs that are 7 or 9mm high). The OWC 960GB Mercury Electra was the first that was somewhat affordable almost 1TB SSD, but now theM500 and the 840 EVO have taken over.
|
||||||||||||||||||||||
|
|
I don’t know where all the downvotes come from. The question is pretty clear and makes perfect sense. It is unclear though why would one want to know the answer. Still, from my experience, there is no exact way of telling until you have seen the drive disassembled – in real life or on video. In most cases OEM will not provide the information that you want to get simply because it is out of scope of normal external HDD usage. By taking it apart you void the warranty and this is for the reason. The only thing that OEM is supposed to specify is the external interface on the casing. Which in our case is USB. Weather the actual disk inside the box is SATA or not is for you to find out if you are very curious, but you always pay the price by voiding the warranty. In fact you have pretty much answered your own question. If one wants to know what is inside the box, one goes and watches youtube videos and hopes that someone else has disassembled it before. I know this is not very encouraging but this is the truth.
|
|||||||||||||||||||||
|
|
It comes down to manual tear down, or being lucky that somebody already did a tear down. Here are some drives that I know the internals of some 1.5TB and 2TB external 2.5inch USB drives.
|
via:
Posted in Hardware, HP XW6600, Power User | Leave a Comment »
Posted by jpluimers on 2015/04/17
Though the Dell Inspiron 17R 5737 Owner’s Manual contains instructions on pages 24-26, it was easier to see how to access it on the photos at
Review Dell Inspiron 17R-5737 Notebook – NotebookCheck.net Reviews.
Steps (see also the pictures below):
– remove the battery
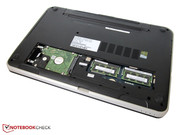
– remove the wide bottom plate
– remove the three screws of the hard drive (there are 4 holes, but only 3 screws, saves half a cent per laptop)
– pull the tab gets the metal bracket with the hard drive out of the laptop.
Now you can unscrew the hard drive from the bracket, and replace it with a new one or an SSD drive.
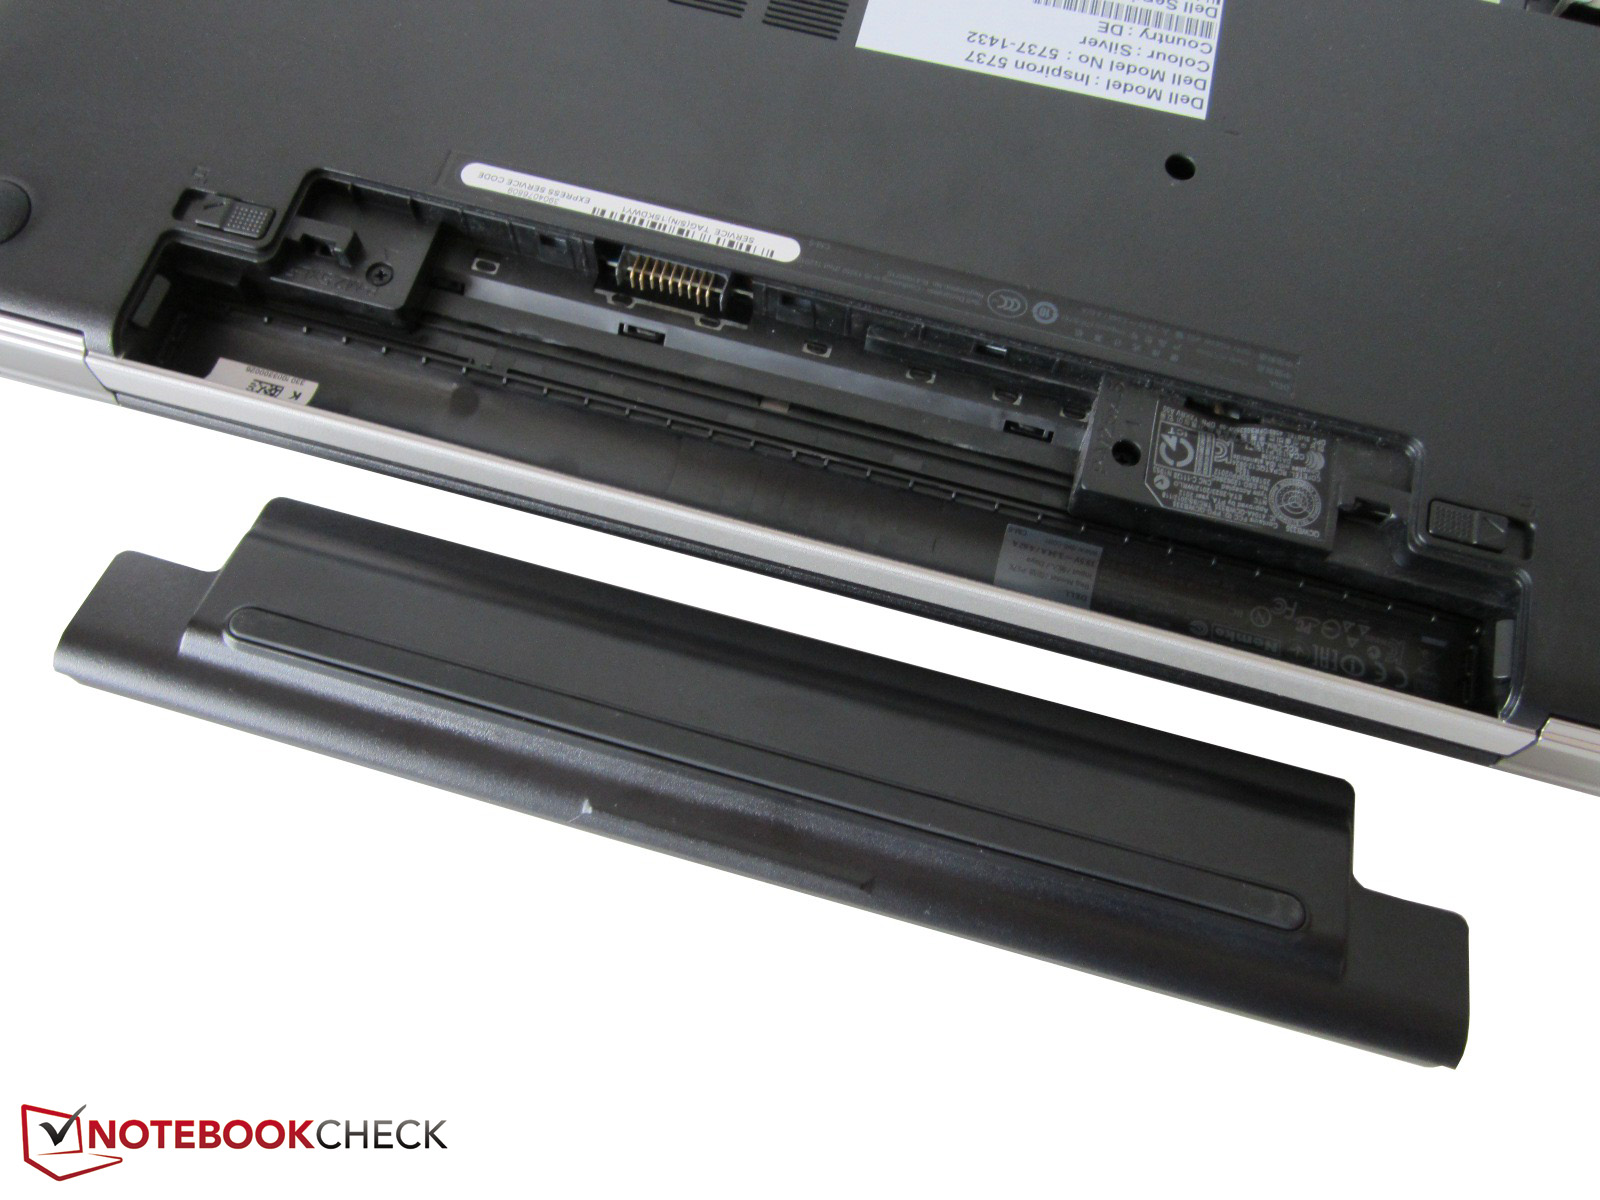
Removing the battery
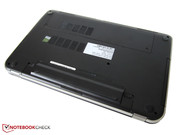
Removing the wide bottom plate.
Remove the three screws of the hard-drive.
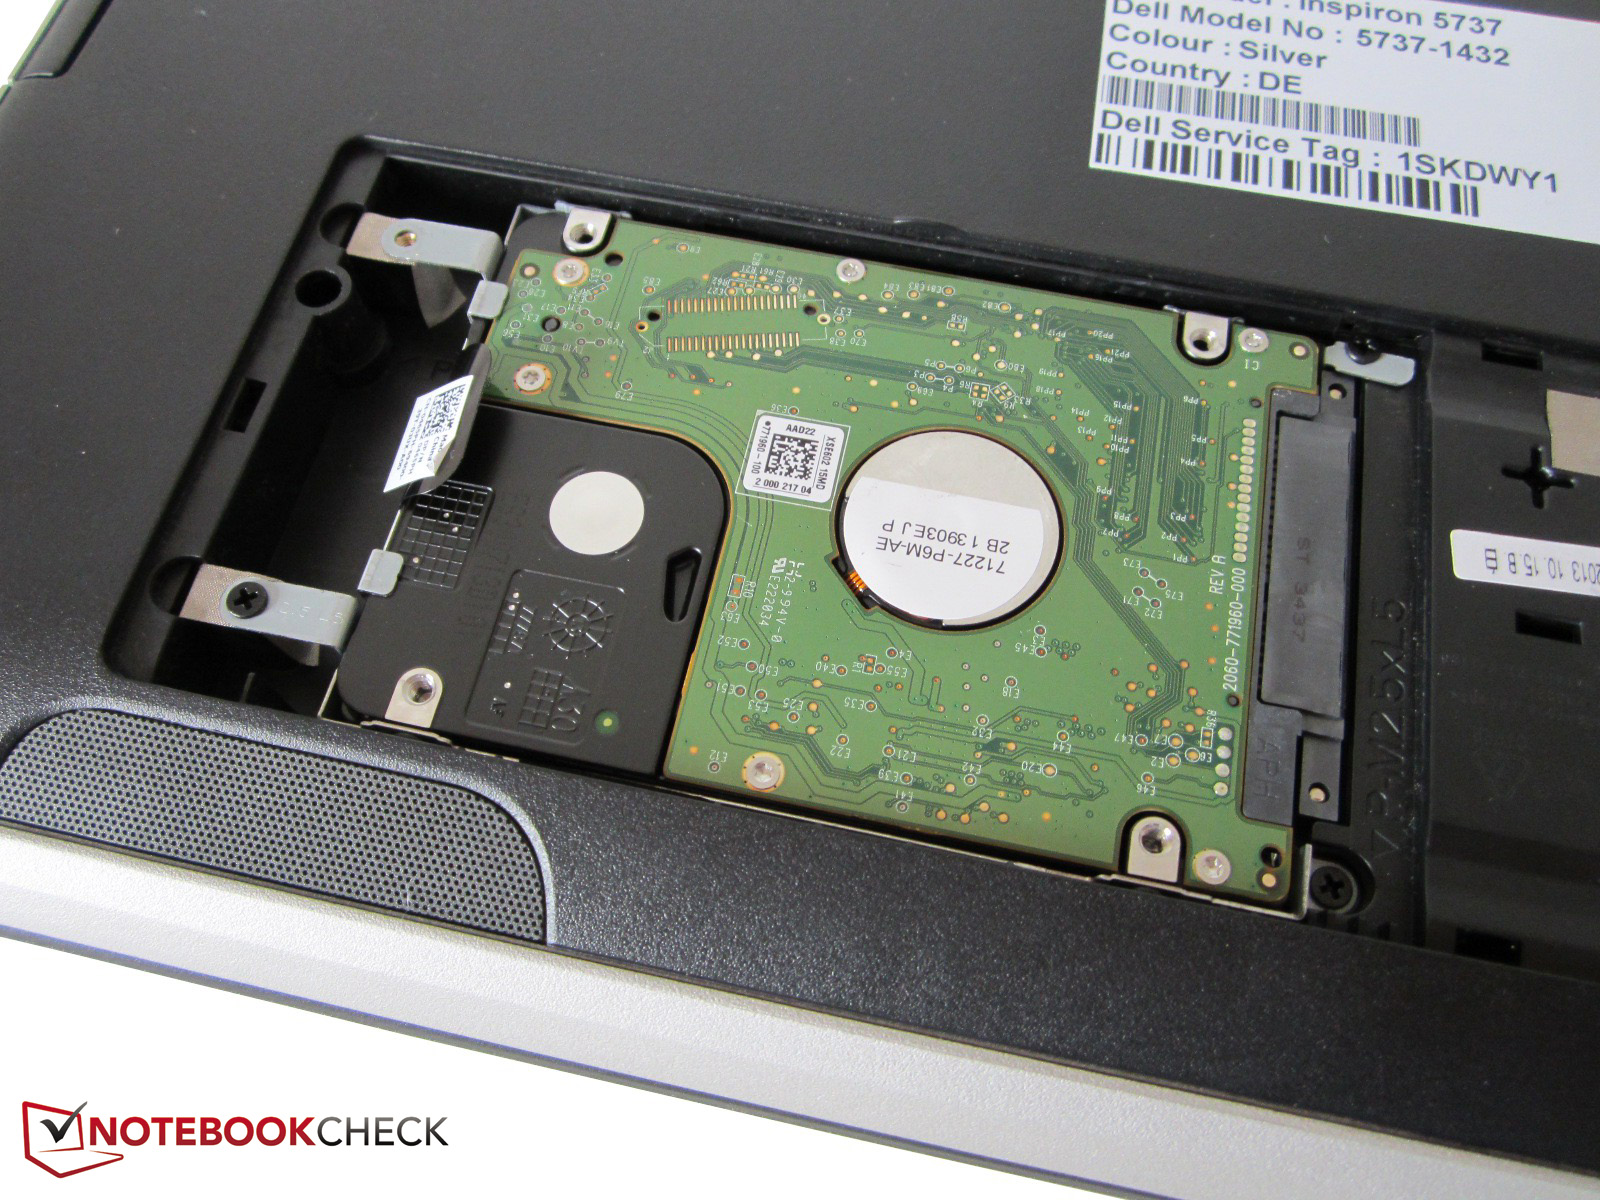
Pull the tab to remove the hard drive.

Posted in Hardware, Power User, SSD | Leave a Comment »

